The Problem #
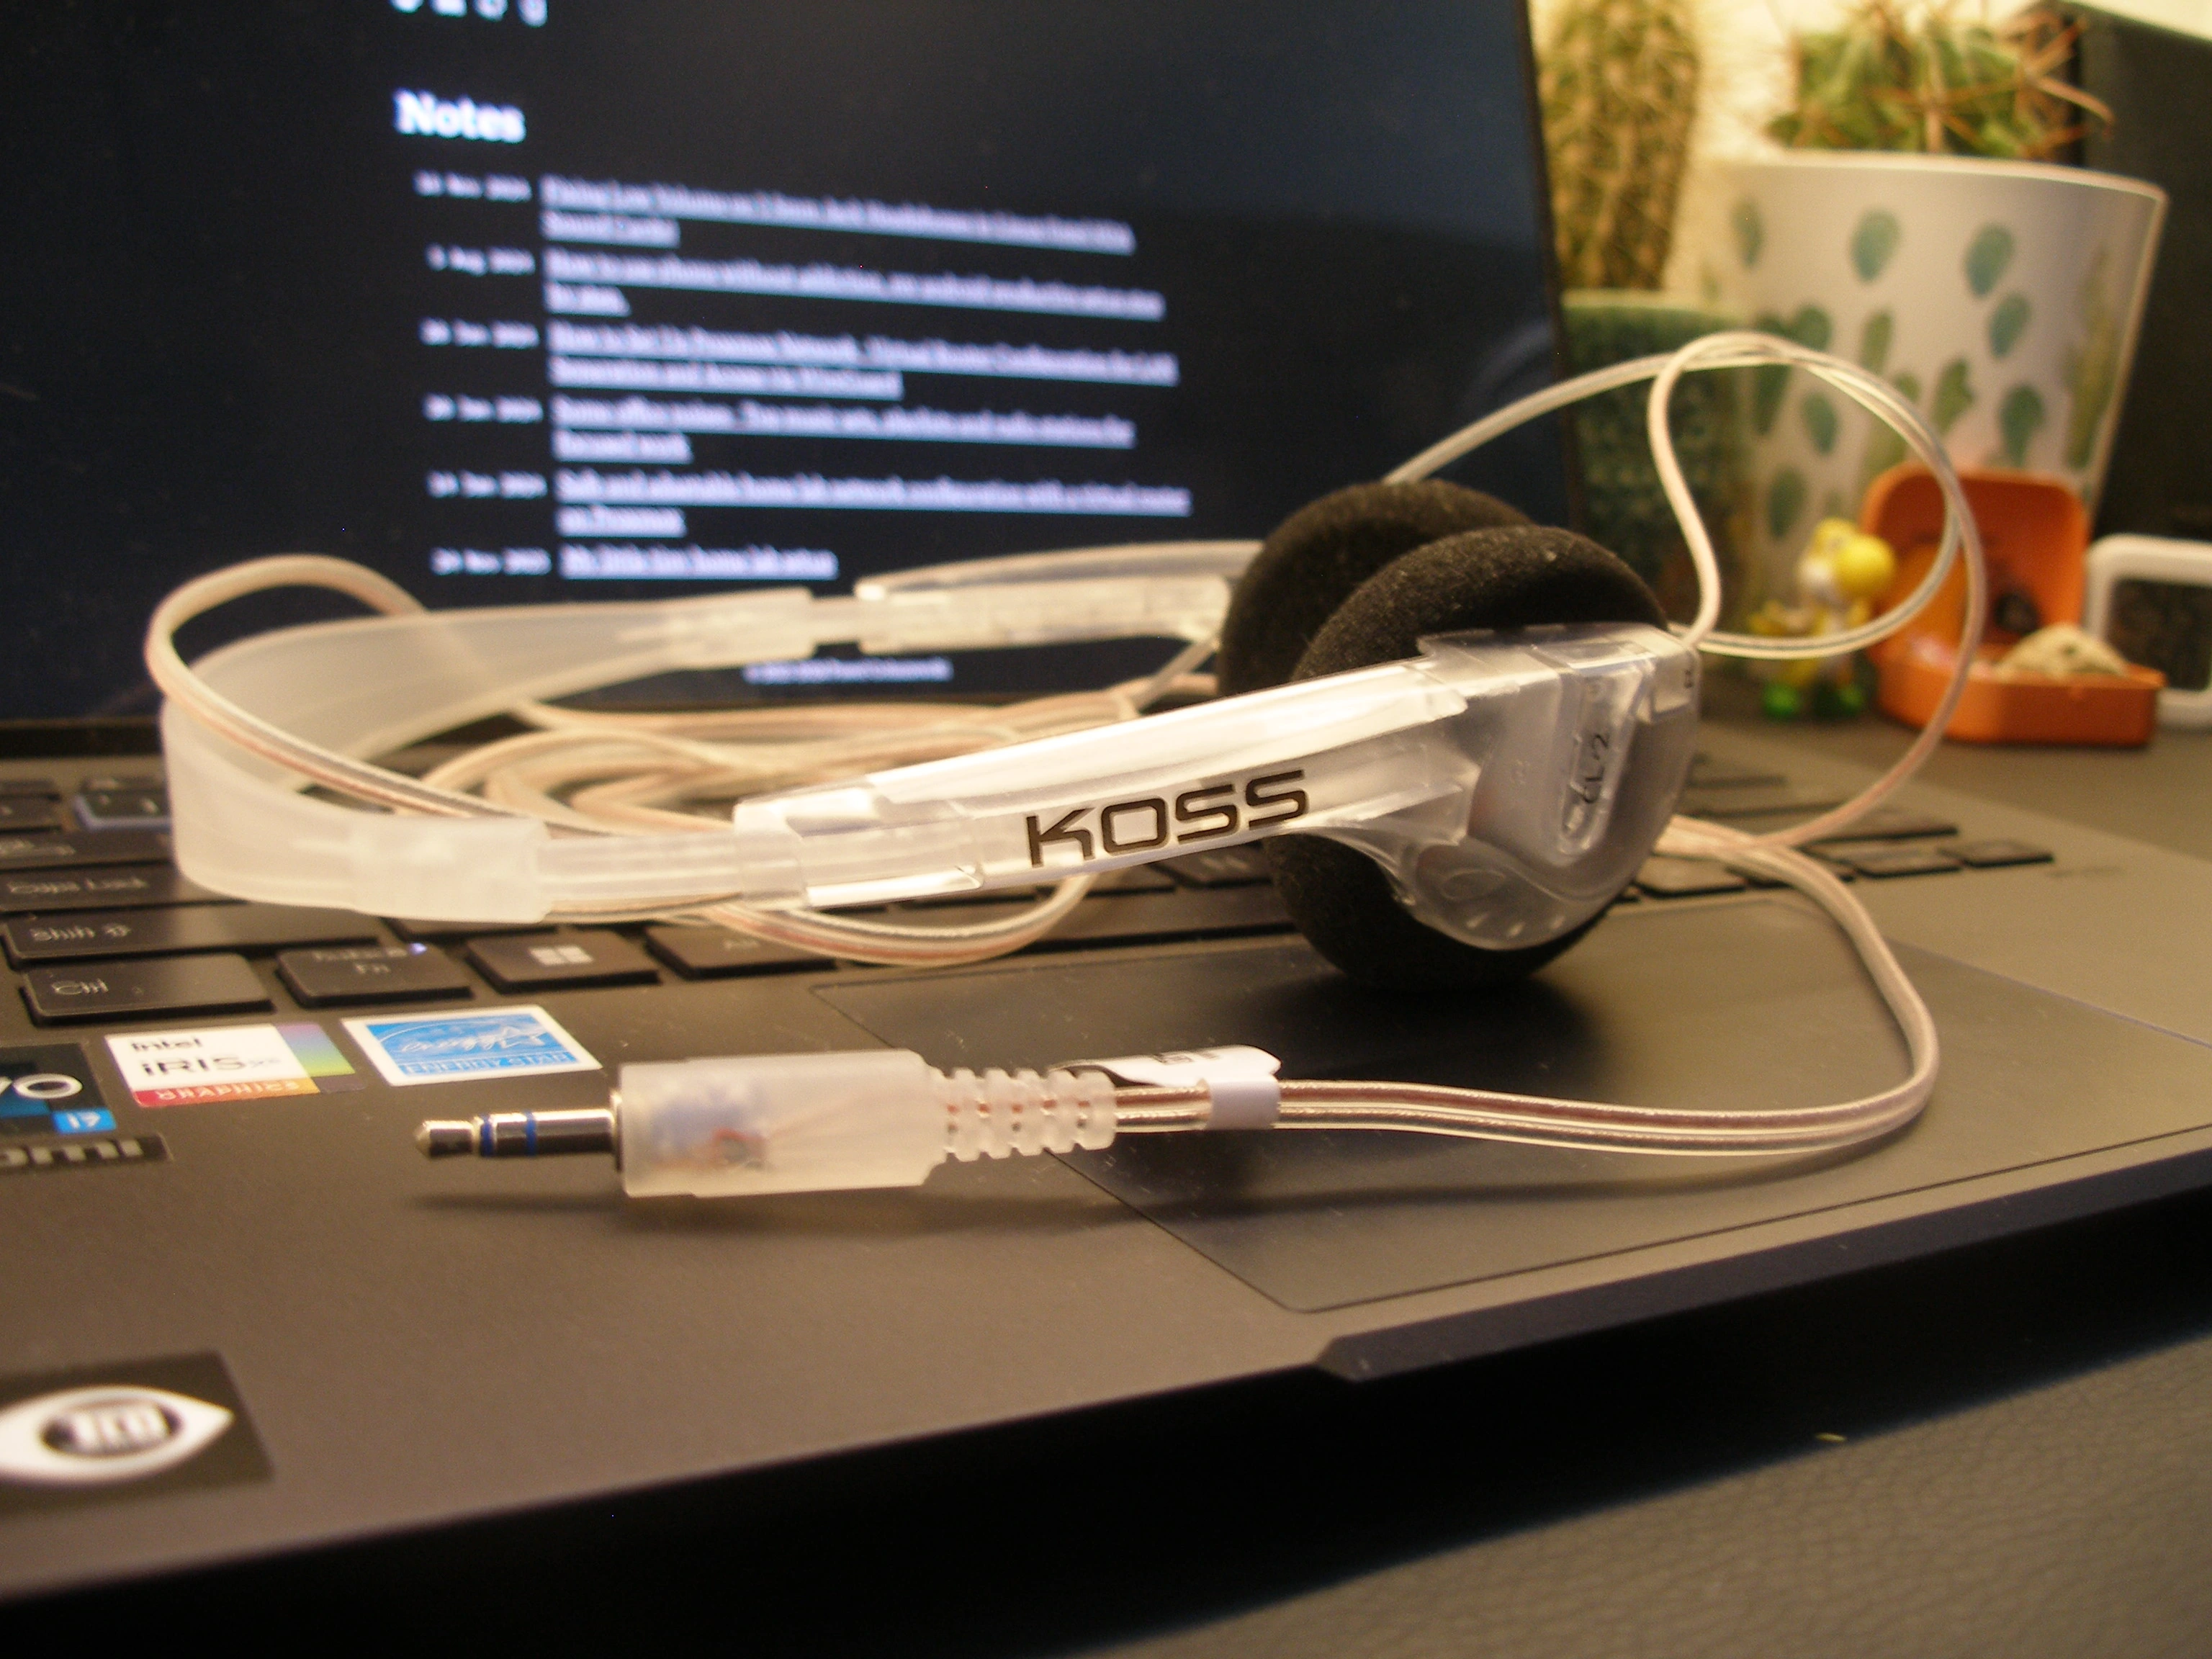
After some system updates on Linux, I encountered an annoying issue with my headphones connected through the 3.5mm jack. While the system speakers worked fine, the headphone output was severely impaired:
- Volume was extremely low, even when maxed out to 150%
- Audio was distorted and crackling
- The headphones were barely usable, making any audio work impossible
- System settings and standard volume controls had no effect on fixing the issue
This is a common problem that occurs on various Linux distributions, particularly affecting headphone output through the 3.5mm jack connection. The root cause lies in incorrect audio codec settings after system updates or reboots.
This issue specifically affects computers with Intel HDA (High Definition Audio) sound cards/codecs, which you’ll find in:
- Laptops with Realtek audio codecs
- Desktop motherboards using Intel HDA compatible audio chips
- Systems where the audio device shows up as “HDA Intel” or “HDA Intel PCH”
You can check if you have an affected device by running:
lspci | grep -i audio
If you see “Intel Corporation” and “HDA” or “High Definition Audio” in the output, this solution should work for you.

Installation Requirements #
First, you’ll need to install alsa-tools which provides the hda-verb command. On Ubuntu/Debian, install it with:
sudo dnf install alsa-tools
The Solution #
I’ve created a script that automatically detects the correct audio device path and applies the necessary fixes through hda-verb commands. Unlike similar solutions floating around, this script is more robust as it dynamically finds the correct audio device path even when it changes (e.g., from hwC0D0 to hwC1D0).
Here’s the script:
#!/bin/bash

# Looking for all potential HDA devices
for i in {0..9}; do
    for j in {0..9}; do
        device="/dev/snd/hwC${i}D${j}"
        if [ -e "$device" ]; then
            echo "Found device: $device"

            echo "Attempting to fix audio for device: $device"

            # Execute hda-verb commands
            /usr/bin/hda-verb "$device" 0x20 0x500 0x1b
            /usr/bin/hda-verb "$device" 0x20 0x477 0x4a4b
            /usr/bin/hda-verb "$device" 0x20 0x500 0xf
            /usr/bin/hda-verb "$device" 0x20 0x477 0x74

            echo "Commands executed for $device"
            exit 0
        fi
    done
done

echo "No compatible device found."
exit 1
Installation and Setup #
1. Create the Script #
Save the script to /usr/local/bin/fix-headphones.sh and make it executable:
sudo nano /usr/local/bin/fix-headphones.sh
# paste the script content
sudo chmod +x /usr/local/bin/fix-headphones.sh
2. Create Systemd Service #
To run the script automatically at startup, create a systemd service:
sudo nano /etc/systemd/system/fix-headphones.service
Add the following content:
[Unit]
Description=Fix headphone audio settings
After=sound.target

[Service]
Type=oneshot
ExecStart=/usr/local/bin/fix-headphones.sh
RemainAfterExit=yes

[Install]
WantedBy=multi-user.target
3. Enable and Start the Service #
sudo systemctl enable fix-headphones.service
sudo systemctl start fix-headphones.service
You can check the service status with:
sudo systemctl status fix-headphones.service
How It Works #
The script iterates through possible HDA device paths (/dev/snd/hwC0D0, hwC0D1, hwC1D0, etc.) until it finds an existing device. Once found, it applies the necessary hda-verb commands to reset the audio codec settings. This makes the script much more reliable than hardcoding a specific device path.
After running the script (or after reboot with the service enabled), the headphone output should return to normal volume levels with clear, undistorted sound. The systemd service ensures that the fix is automatically applied every time your system starts up.
Feel free to modify the script according to your needs!
Useful links #
On the basis of which I made on my solution