One day, my ever-present ADHD decided it was time to make my life more interesting by convincing me to replace Docker with Podman. You know, because running containers wasn’t complicated enough already. To justify the hours spent on this adventure, I kept telling myself it was all worth it for Podman’s daemon-less architecture, enhanced security features, and the fact that it’s Fedora’s default container engine 🥵.
Note: This guide is specifically written for Fedora users but might be helpful for other Red Hat-based distributions like RHEL or CentOS.
Installation Steps #
1. Installing Podman and Podman Compose #
First, let’s install the core components:
# The main container engine - your Docker replacement
sudo dnf install podman

# For handling multi-container applications (similar to docker-compose)
sudo dnf install podman-compose
podman: This is the core engine that replaces Docker daemon. It handles container operations like running, building, and managing images - all without requiring a daemon process.podman-compose: If you’re used to Docker Compose for managing multi-container applications, this tool provides similar functionality for Podman. It allows you to define and run multi-container applications using the familiar compose file format.
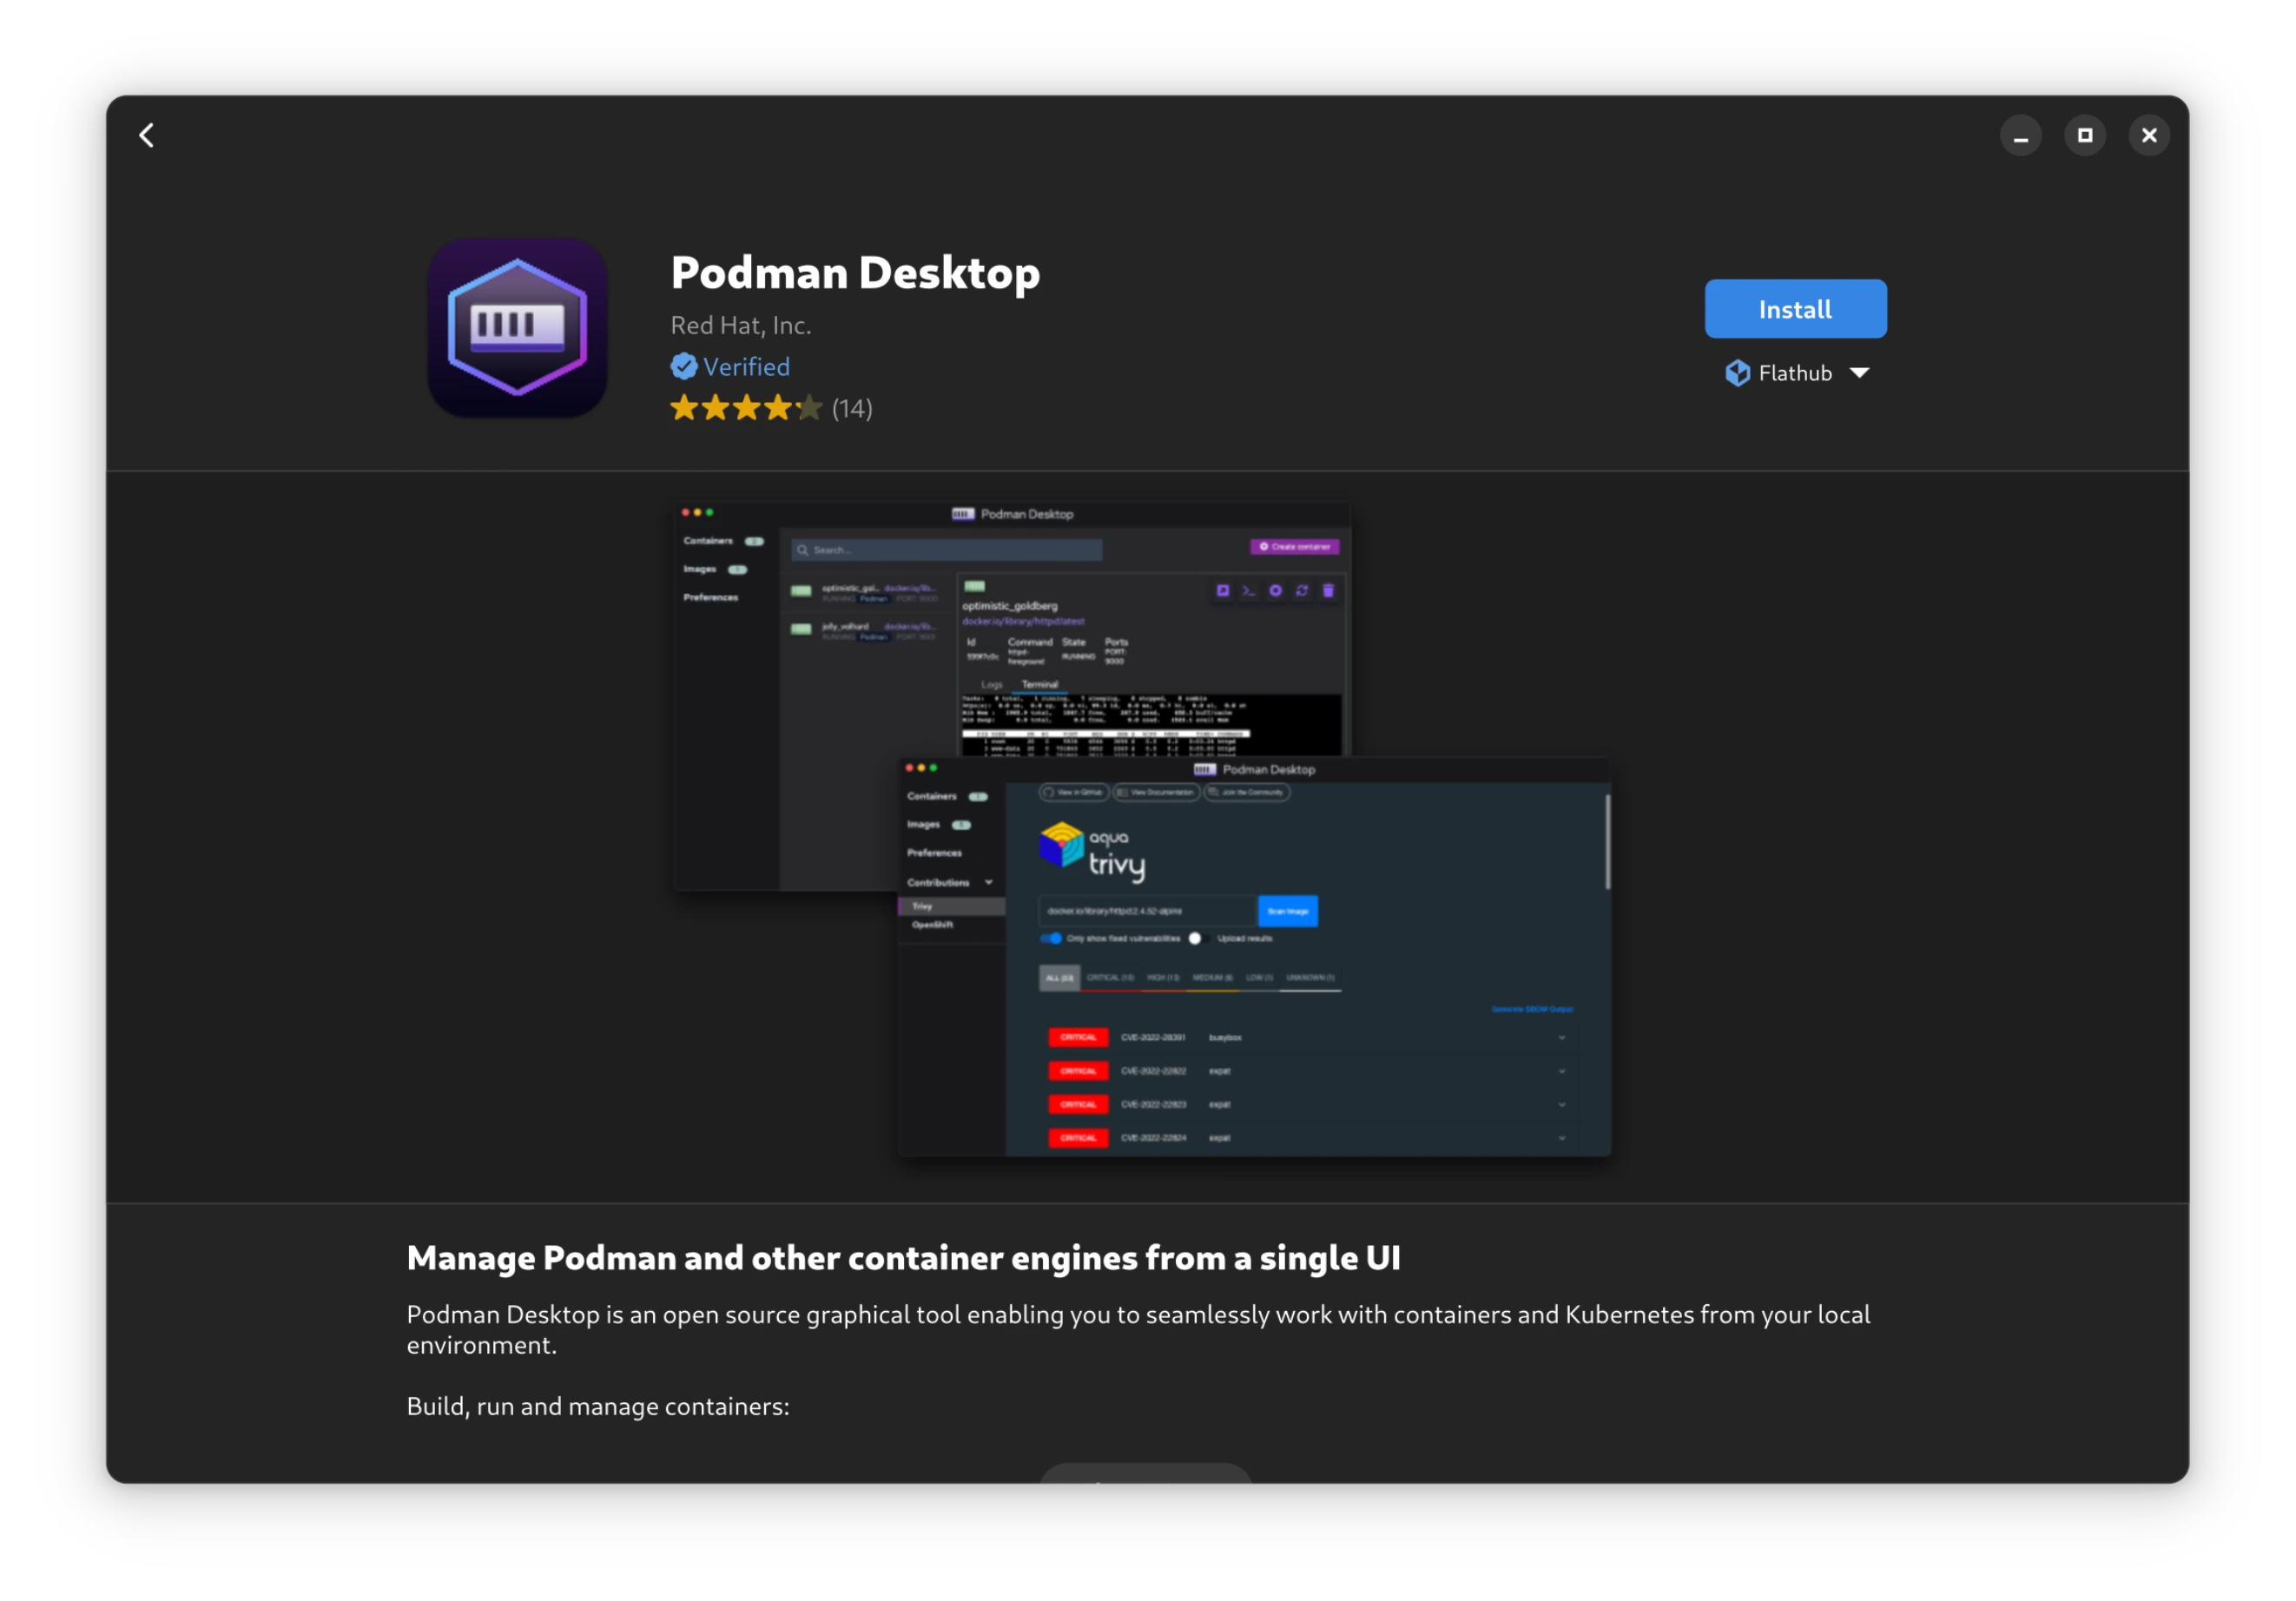
2. Installing Podman Desktop #
Podman Desktop can be installed directly through Flatpak using the Software Center on Fedora. That’s simplest way.
3. Configuring VS Code Docker Extension #
Since Podman implements the same API interface as Docker, we can often use Docker-specific tools and plugins with Podman. As VS Code is quite popular (and I use it daily), I’ll describe how to configure its Docker extension (ms-azuretools.vscode-docker) to work with Podman.
First, enable the Podman socket (you can skip this step if you’ve enabled “Autostart Podman engine when launching Podman Desktop” in Podman Desktop settings):
systemctl --user enable podman.socket
systemctl --user start podman.socket
Then, add these settings to your VS Code user settings (you can open them with Ctrl+, or by selecting “Preferences: Open User Settings (JSON)” from the Command Palette Ctrl+Shift+P):
{
    "docker.environment": {
        "DOCKER_HOST": "unix:///run/user/1000/podman/podman.sock"
    },
    "docker.dockerPath": "/usr/bin/podman",
    "docker.composeCommand": "podman-compose",
}
After these changes, the Docker extension will only work partially - you’ll be able to use the context menu actions on docker-compose.yml files, but unfortunately, the containers and images view will not work.
Note: There is a known solution involving downgrading the Docker extension to version 1.22.2 which reportedly enables full functionality, but I personally chose to stick with the latest version and work around the limitations.
Common Issues and Solutions #
Setting Up Unprivileged Ports #
By default, Podman restricts non-root users from binding to ports below 1024. To allow binding to lower ports (like 80), you have two options:
Temporary Solution #
sudo sysctl net.ipv4.ip_unprivileged_port_start=80
Permanent Solution #
# Create the configuration file
sudo sh -c 'echo "net.ipv4.ip_unprivileged_port_start=80" > /etc/sysctl.d/99-unprivileged-ports.conf'

# Reload sysctl settings
sudo sysctl --system
Podman Desktop and CLI Synchronization Issues #
If you encounter synchronization issues between Podman Desktop and the CLI, while a system restart typically helps, I prefer using a custom bash alias that checks if Podman Desktop is running.
Pro tip: I’ve documented my practical bash-based solution in detail in Solving Podman Desktop Socket Synchronization Issues: A Pragmatic Bash Solution.
Other Considerations #
When migrating from Docker to Podman, keep in mind these differences:
- Podman Compose automatically recognizes several file names (in order of preference):
# Supported compose file names (in order of detection):
- container-compose.yml
- container-compose.yaml
- docker-compose.yml
- docker-compose.yaml
- compose.yml
- compose.yaml
You can also explicitly specify a different filename using the -f flag: podman-compose -f my-compose.yml up -d
- Use absolute image paths when referencing local images:
# Docker way
FROM nginx:latest

# Podman way (prefer full registry path)
FROM docker.io/library/nginx:latest
- Volume mount paths might differ between Docker and Podman:
# Docker way
volumes:
  - ./data:/app/data

# Podman way with SELinux labels
volumes:
  - /home/user/project/data:/app/data:Z

# Available SELinux labels:
# :Z - shared volume content between containers
# :z - private, unshared volume content
# :O - use complete read/write access and ignore SELinux labels
The SELinux labels are important on Fedora and other SELinux-enabled systems:
:Z(capital Z) - multi-container shared content:z(lowercase z) - private, single-container content:O(capital O) - bypasses SELinux controls completely